
Catawampus Framing

There are projects that make their way into my life through no fault of my own. This vintage needlepoint rug is a case in point. A friend picked it up at our usual thrifting haunt. She decided it wasn’t something she could sell and, charmingly, gave it to me. I say “charmingly” because she is charming, but also because it’s a “free horse-$100 saddle” scenario (a term that makes me laugh, having purchased a teenage girl a saddle with a tax charge higher than $100). More “chaaaarming” than “charming” because unfinished projects quite literally bother me. My appreciation for vintage handiwork meant I couldn’t see it thrown away, but had no idea how to finish it. Nor what I would do with it when done. Very few people would tackle this beast and live to tell the tale. Time to do some research.
JER happily needlepointed the top in 1978, but then was at a standstill. If you saw the canvas, you would understand. Suffice it to say the back looked like a shag rug, and the whole thing was a parallelogram not a rectangle. It needed to be blocked. When a person stitches a piece, they will work in one direction. Over an entire piece, the tension of their stitches adds up to cause the weft of the underlying canvas to twist a certain way, skewing the overall piece. Ok, crafter-inspired physics lesson over, but this rug needed to be mounted to a stretcher, soaked, and let to dry, which would square it back up. (I could explain why this works, but will refrain. See this link if curious: https://thornalexanderstyle.com/needlepoint101). I’ve often regretted not having my mother’s handmade blocking form, which she used during my childhood to block her projects, though in this case it wouldn’t do me much good. This particular “canvas” happens to be 3 feet x 5 feet, making the “wood stretcher” thing a challenge.
Having a barn (or two) full of random things, I asked hubby if he could make up a frame out of old wood. He grumbled, but eventual scrounged up and cut some boards, hauling them to the basement to assemble (too cold out in the barn in December). I used my sewing machine to secure the edges of the rug with a zigzag stitch, then stapled it to the new frame. Doused it with water, and left it dry.
The rug, it should be mentioned, needed a serious haircut. The back strands were not finished off properly, and it was rather shaggy. Once mounted on the frame, I trimmed the strings as best I could. To clarify, the back of a needlework project shouldn’t have knots and long loose yarn waving about. To begin stitching, the tail thread is caught under the first few stitches. When ending, the thread is buried into a few inches of prior stitches. Thus no knots. JER hadn’t read that page of the directions and simple knotted the ends, leaving random inches of left-over yarn.
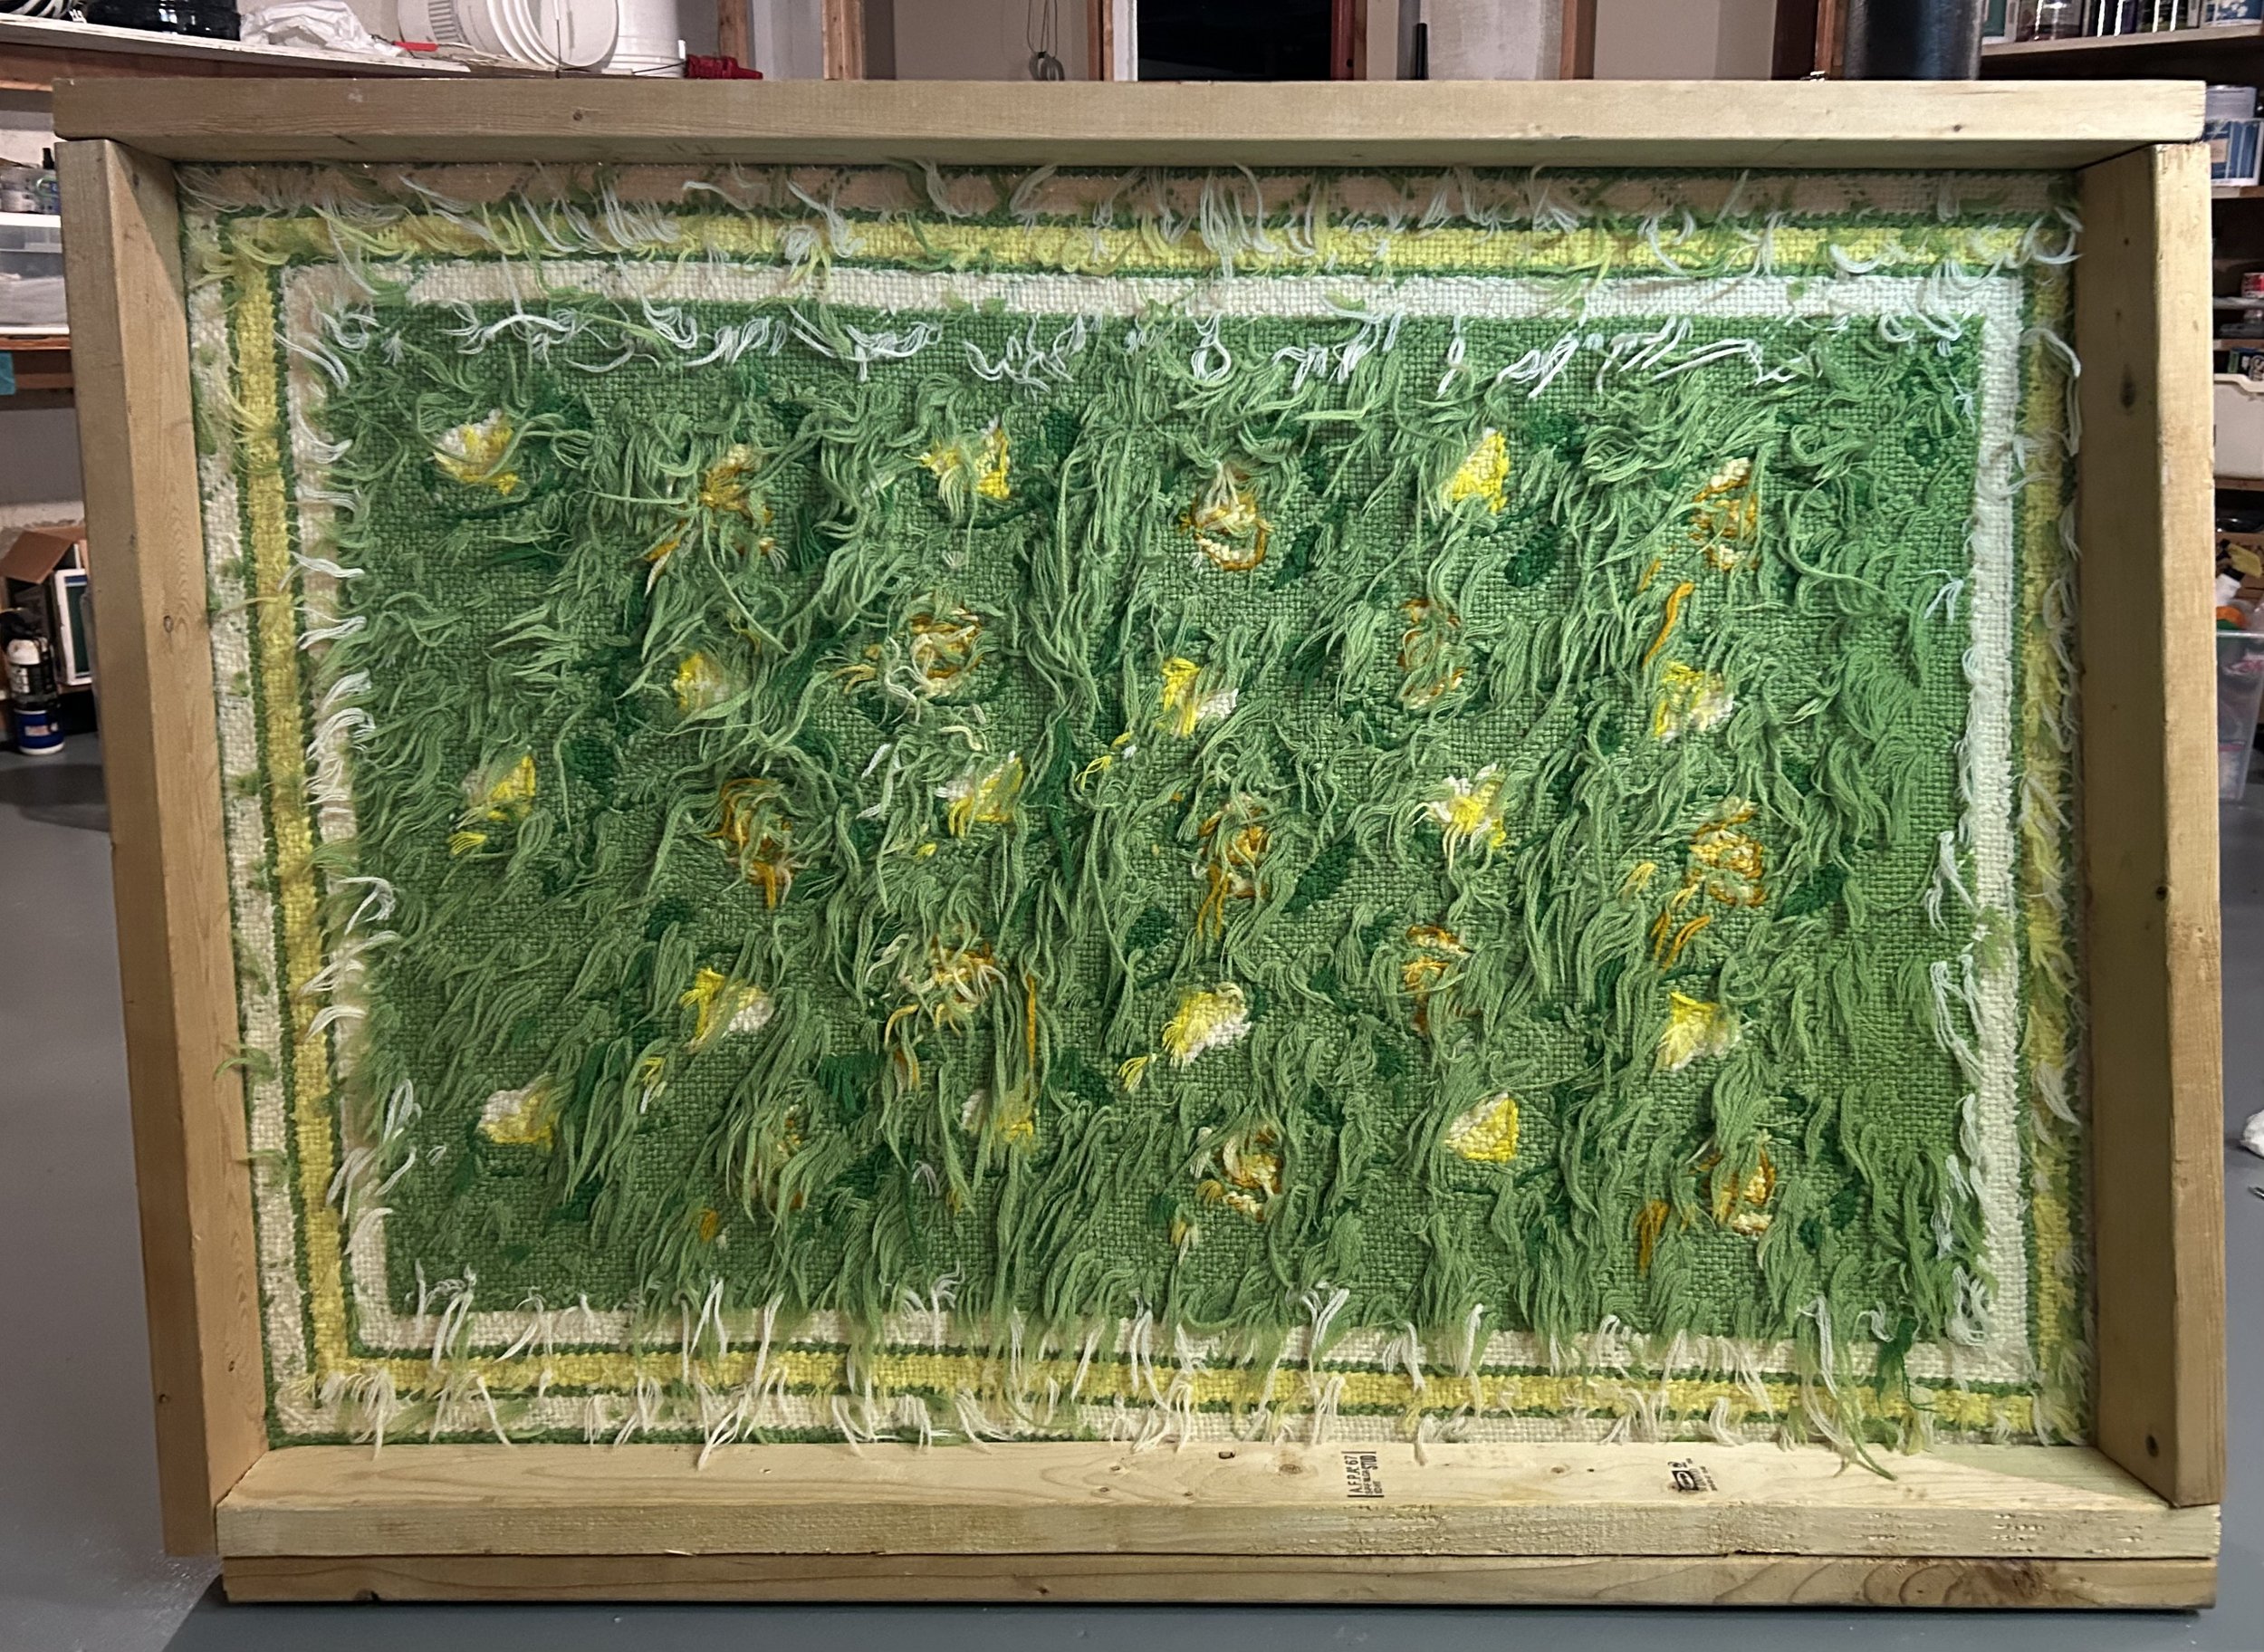
After a few days I puzzled over why the rug’s selvage was not running square along the wood frame. Frustrated, I pulled out all the damn staples and tried again. Mind you these were electric staple gun staples, pried out with an old screwdriver and pliers. Starting over, the piece kept going askew. In total frustration, I rummaged around for a T-square (yup, we had my dad’s old one) and checked the frame. One DAMN corner was not square. Hubby and I scratched our heads, tried various things, disassembled the wood, and puzzled some more. Until one of us thought to measure the length of the boards (no names used to protect the innocent). And yes, hubby had cut one side 2” shorter. Dear god in heaven. I was trying to square up a parallelogram canvas on a catawampus trapezoid frame.
Once the third round of mounting, watering and drying was done I applied a glue to the back. In researching I learned a fancy (read: expensive) industrial glue was recommended to finish off the back. I wasn’t keen on dropping $50, so ended up using mod podge craft glue which worked as a (cheap) substitute. Once dry, the rug was taken off the stretcher, and the glued chunks were trimmed (I likely should have watered down the glue but oops). I now needed a backing on the rug. Another “free horse-$100 saddle” scenario: the recommended fancy rug backing was also in the $50 range, but I’m too cheap. Off to the sewing store, where I found a nylon fabric in literally the same shade of 1970s green for a total of $10. Trimmed the rug, zigzagged the raw edges (again), sewed and flipped, much like inverting a pillowcase. I needed to press the now-sewn edges to finish the rug off, but ironing the darn thing was a challenge. I was unsure of the fiber of the 1970s yarn, and was leery of ironing the green backing fabric (nylon + hot iron = nothing pretty). Eventually, using a pressing cloth and large binder clips as “pins”, I was able to sew a finished edge. This keeps the back in the correct place, adds durability to the edge and helps keep the canvas from fraying.
Not 100% sure all those “shag rug” ends might not cause trouble, but that is a future me problem. For now my only modestly catawampus rug graces the floor of our dressing room. I appreciate my friend’s found treasures, and give hubby accolades for helping me with all these ridiculous “projects”. Even if sometimes I end up with a bit of a charming snafu.